
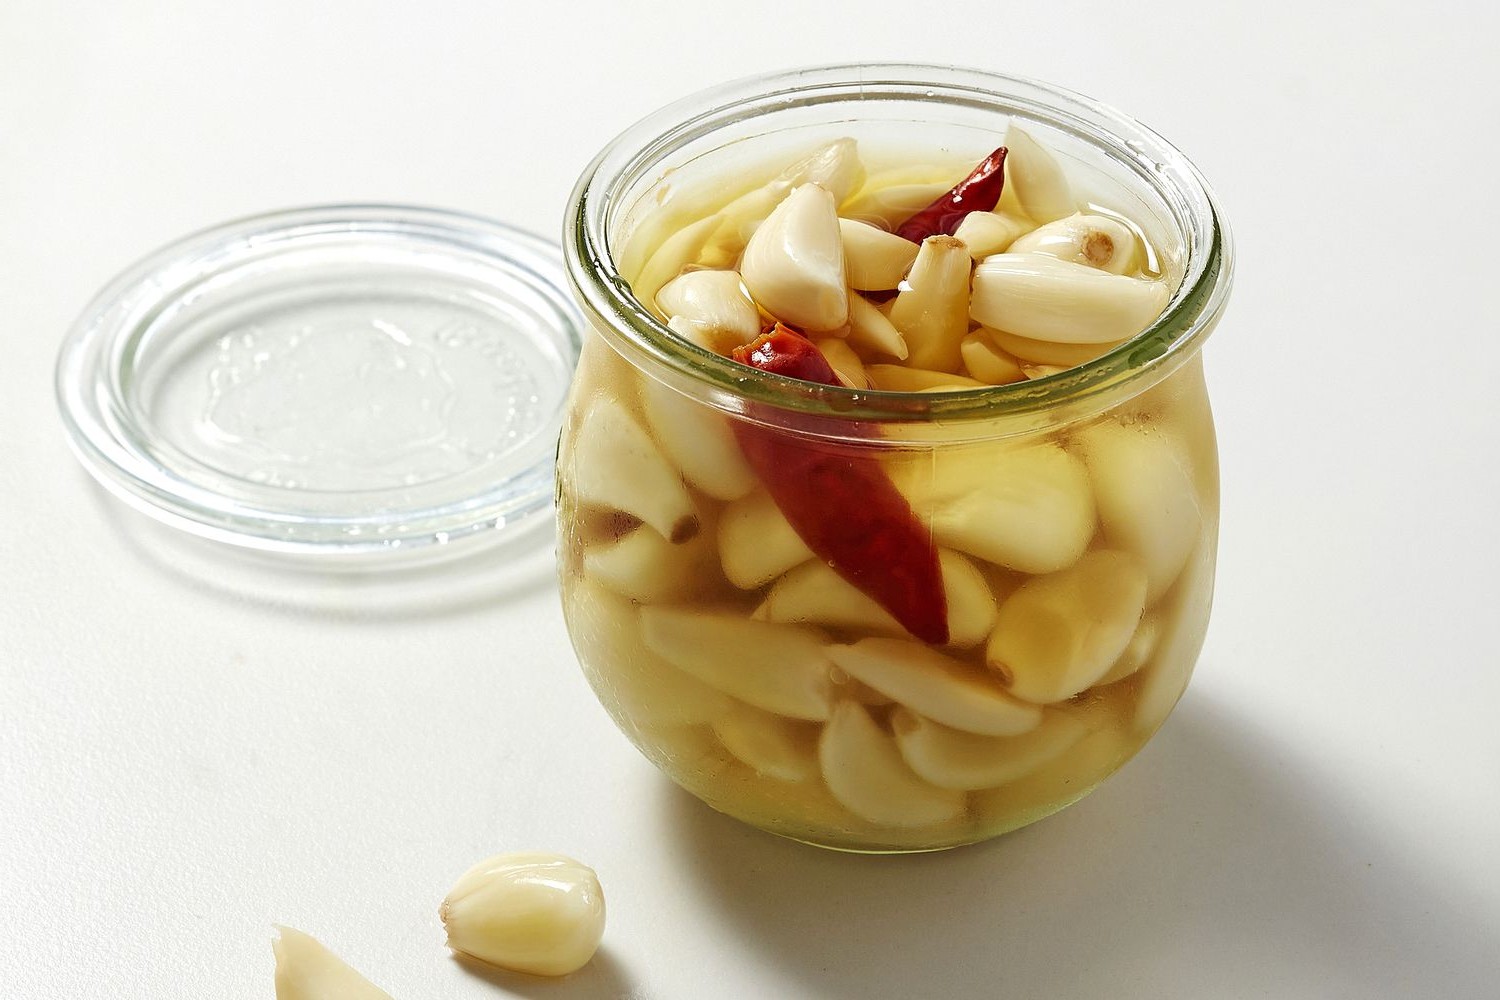
Pickled garlic cloves are a delightful addition to any pantry, offering a tangy and flavorful punch to a variety of dishes. This simple yet delicious recipe allows you to preserve the robust taste of garlic while infusing it with the zesty notes of vinegar and spices. Perfect for snacking, adding to salads, or enhancing your favorite recipes, these pickled garlic cloves are sure to become a household favorite.
While most of the ingredients for this recipe are common pantry staples, you might need to pay special attention to white vinegar and dried dill. White vinegar is a clear, colorless vinegar with a sharp, tangy flavor, often used in pickling. Dried dill is an herb that adds a unique, slightly sweet and grassy flavor to the pickles. Both of these items can be found in the condiment or spice aisle of your local supermarket.
Ingredients For Pickled Garlic Cloves
Garlic cloves: The star of the recipe, providing a pungent and aromatic flavor.
White vinegar: A clear, tangy vinegar that acts as the primary pickling agent.
Water: Used to dilute the vinegar and balance the acidity.
Sugar: Adds a touch of sweetness to counterbalance the tanginess of the vinegar.
Salt: Enhances the overall flavor and helps in the preservation process.
Black peppercorns: Adds a subtle heat and complexity to the pickles.
Dried dill: Infuses the pickles with a fresh, slightly sweet, and grassy flavor.
Technique Tip for This Recipe
When peeling garlic cloves, try blanching them in boiling water for about 30 seconds and then transferring them to an ice bath. This will make the skins easier to remove and save you time.
Suggested Side Dishes
Alternative Ingredients
Pickled garlic cloves - Substitute with roasted garlic cloves: Roasted garlic provides a similar texture and a rich, mellow flavor that can complement many dishes in a similar way to pickled garlic.
Pickled garlic cloves - Substitute with pickled onions: Pickled onions offer a tangy and slightly sweet flavor that can mimic the pickled aspect of garlic, though the taste will be different.
Pickled garlic cloves - Substitute with fresh garlic cloves: Fresh garlic can be used in place of pickled garlic, though it will have a stronger, more pungent flavor. Adjust the quantity to taste.
Pickled garlic cloves - Substitute with pickled shallots: Pickled shallots have a similar texture and a slightly milder flavor compared to pickled garlic, making them a good alternative.
Pickled garlic cloves - Substitute with capers: Capers provide a tangy, briny flavor that can add a similar zing to dishes, though the texture will be different.
Other Alternative Recipes Similar to This Dish
How to Store or Freeze This Dish
- Ensure the pickled garlic cloves are completely cooled before storing. This helps to maintain their crisp texture and prevents any unwanted bacterial growth.
- Use a clean, airtight glass jar for storing. This will keep the garlic fresh and prevent any odors from escaping into your refrigerator.
- Store the jar in the refrigerator. The cool temperature will help preserve the garlic and maintain its flavor.
- For optimal flavor, allow the pickled garlic cloves to marinate for at least 24 hours before consuming. This allows the flavors to meld together beautifully.
- If you plan to store the pickled garlic for an extended period, ensure the jar is properly sealed to prevent any air from entering.
- For freezing, transfer the pickled garlic cloves into a freezer-safe container or a heavy-duty freezer bag. This will protect them from freezer burn and maintain their quality.
- Label the container with the date of preparation. This helps you keep track of how long the garlic has been stored.
- When ready to use, thaw the pickled garlic cloves in the refrigerator overnight. This gradual thawing process helps retain their texture and flavor.
- Avoid refreezing pickled garlic once thawed, as this can degrade their quality and texture.
- Enjoy the pickled garlic cloves as a flavorful addition to salads, sandwiches, or as a tangy snack on their own.
How to Reheat Leftovers
Stovetop Method:
- Place a small saucepan over low heat.
- Add the pickled garlic cloves along with a bit of the pickling liquid.
- Gently warm for 3-5 minutes, stirring occasionally to ensure even heating.
- Remove from heat and serve immediately.
Microwave Method:
- Place the pickled garlic cloves in a microwave-safe dish.
- Add a tablespoon of the pickling liquid to keep them moist.
- Cover the dish with a microwave-safe lid or plastic wrap, leaving a small vent.
- Microwave on medium power for 30 seconds to 1 minute, checking halfway through.
- Stir and let sit for a minute before serving.
Oven Method:
- Preheat your oven to 300°F (150°C).
- Place the pickled garlic cloves in an oven-safe dish.
- Cover the dish with aluminum foil to prevent drying out.
- Warm in the oven for 10-15 minutes.
- Remove from the oven and serve warm.
Steaming Method:
- Set up a steamer basket over a pot of simmering water.
- Place the pickled garlic cloves in the steamer basket.
- Cover and steam for 3-5 minutes until heated through.
- Carefully remove and serve immediately.
Sous Vide Method:
- Preheat your sous vide machine to 140°F (60°C).
- Place the pickled garlic cloves in a vacuum-sealed bag or a zip-lock bag using the water displacement method.
- Submerge the bag in the water bath and heat for 30 minutes.
- Remove from the water bath, open the bag, and serve warm.
Best Tools for This Recipe
Saucepan: Used to combine vinegar, water, sugar, and salt, and bring the mixture to a boil.
Measuring cups: Essential for accurately measuring the vinegar, water, sugar, and salt.
Measuring spoons: Necessary for measuring out the sugar, salt, black peppercorns, and dried dill.
Jar: Used to hold the garlic cloves, peppercorns, and dill, and to store the pickled garlic.
Lid: To seal the jar after pouring the hot vinegar mixture over the garlic cloves.
Stove: Required to heat the saucepan and bring the vinegar mixture to a boil.
Knife: Handy for peeling the garlic cloves if they are not pre-peeled.
Cutting board: Provides a surface for peeling and preparing the garlic cloves.
Tongs: Useful for handling the hot jar and lid safely.
Funnel: Helps to pour the hot vinegar mixture into the jar without spilling.
Cooling rack: Allows the sealed jar to cool to room temperature evenly.
How to Save Time on Making This Recipe
Peel garlic efficiently: Use the flat side of a knife to smash the garlic cloves, making the skins easier to remove.
Pre-measure ingredients: Measure out the vinegar, water, sugar, and salt before starting to streamline the process.
Use pre-peeled garlic: Purchase pre-peeled garlic cloves to save time on preparation.
Boil in advance: Boil the vinegar mixture while you prepare the jars and spices.
Sterilize jars ahead: Sterilize the jars in advance to save time during assembly.
Pickled Garlic Cloves
Ingredients
Main Ingredients
- 2 cups Garlic cloves, peeled
- 1 cup White vinegar
- 1 cup Water
- 1 tablespoon Sugar
- 1 tablespoon Salt
- 1 teaspoon Black peppercorns
- 1 teaspoon Dried dill
Instructions
- 1. In a saucepan, combine vinegar, water, sugar, and salt. Bring to a boil.
- 2. Add garlic cloves, peppercorns, and dill to the jar.
- 3. Pour the hot vinegar mixture over the garlic cloves.
- 4. Seal the jar and let it cool to room temperature. Refrigerate for at least 24 hours before serving.
Nutritional Value
Keywords
More Amazing Recipes to Try 🙂
- Pickled Radishes15 Minutes
- Cucumber & Tomato Salad (Simple, finely chopped)10 Minutes
- Tahini (Plain paste/Sauce/Dip)10 Minutes
- Pickled Okra25 Minutes
- Marinated Anchovies (Gavros Marinatos - White Anchovies)20 Minutes
- Pita Bread with Za'atar baked on1 Hours 10 Minutes
- Roasted Potatoes with Lemon & Oregano (Greek Style)1 Hours
- Lahm bi Ajeen / Sfiha (Small Meat Flatbreads)45 Minutes
Leave a Reply